
Once More
Naninovel TitleUI Customization
I'm writing this to help someone go through the process I had to in order to customize Naninovel UI. While the Documentation is one of the best I've seen and the Support is the best you'll get with any VN engine, you will not learn Unity without additional help if you've never used it before. Setting up a custom UI requires some Unity uGUI knowledge.
This specific configuration is for the TitleUI prefab that comes with a download of Naninovel.
Making Your New Screen
I refer to the menus of Once More as screens. In order to copy the TitleUI prefab you need to go to your Project -> Assets -> Naninovel -> DefaultUI folder.
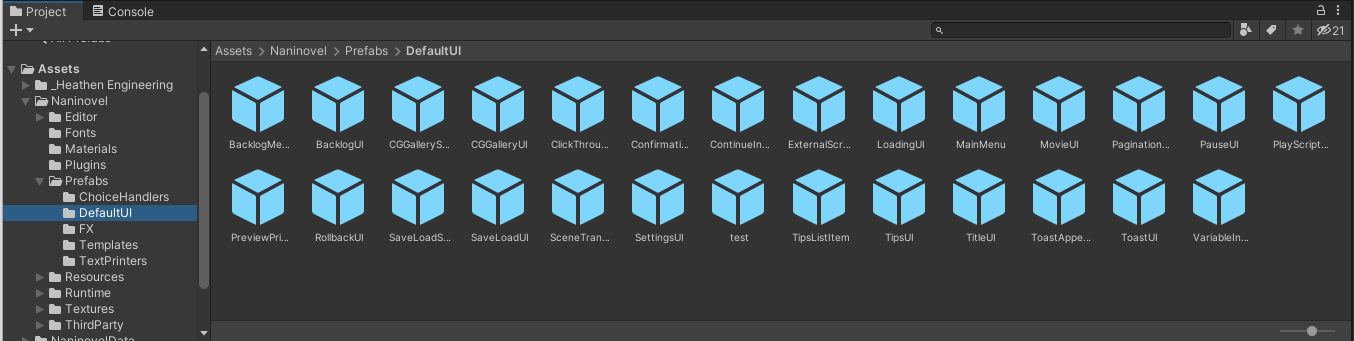
In here are your Prefabs. We will make a new one called TestUI.
To do this, right click in the project folder and selected
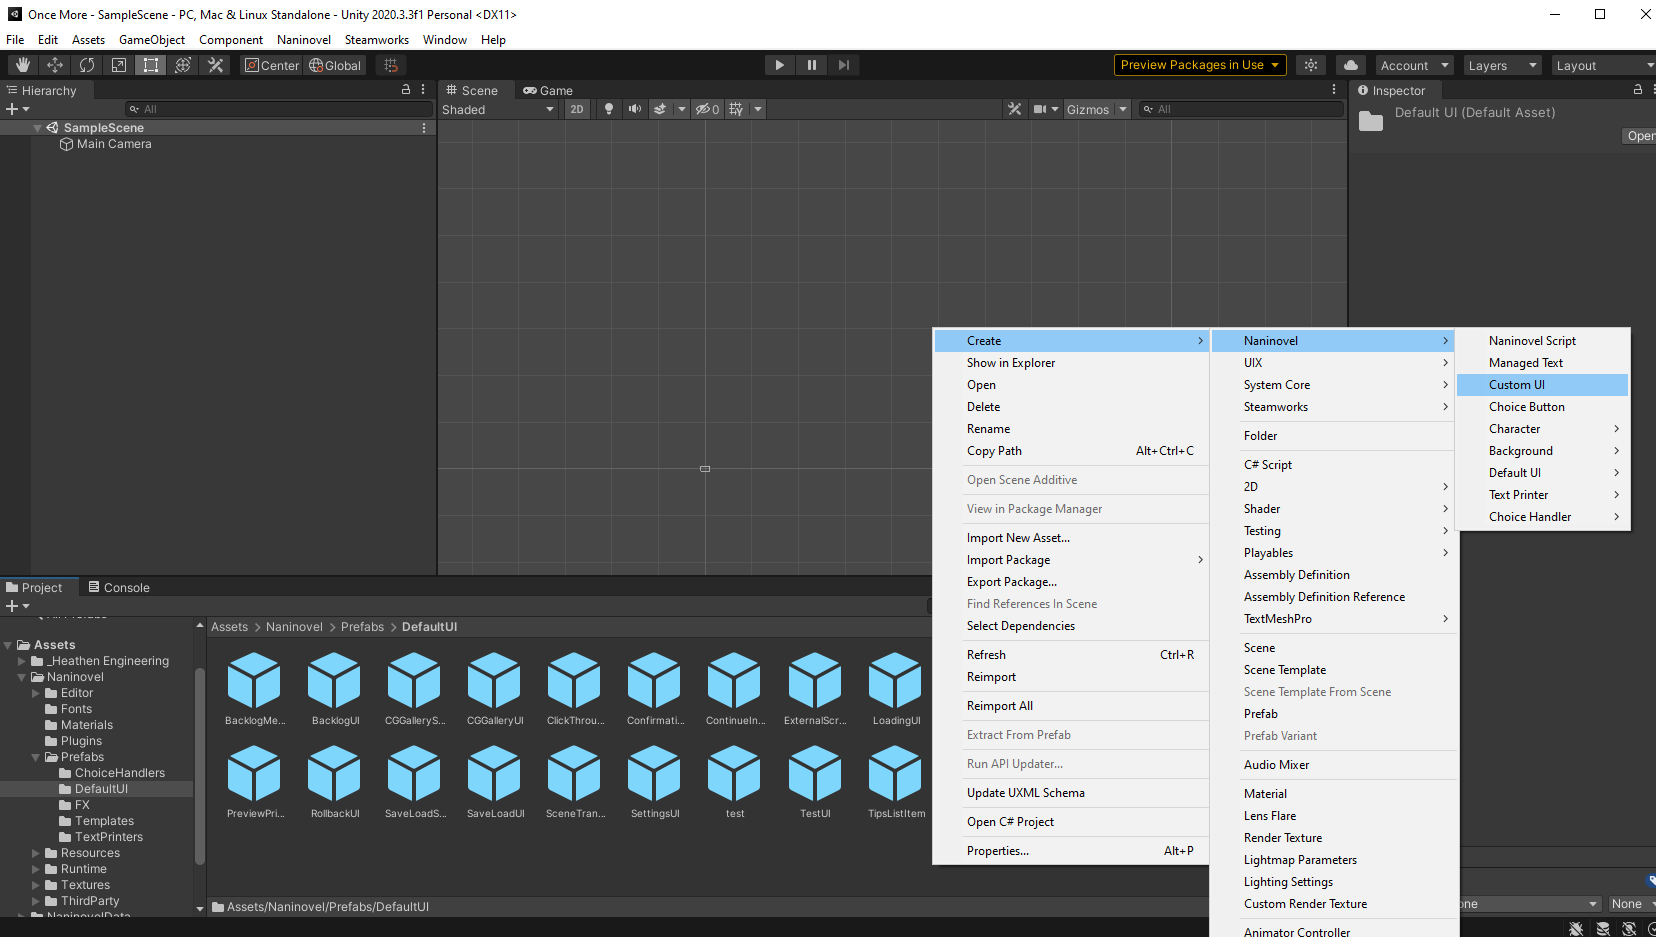
Double click TestUI to bring up the Scene tab:

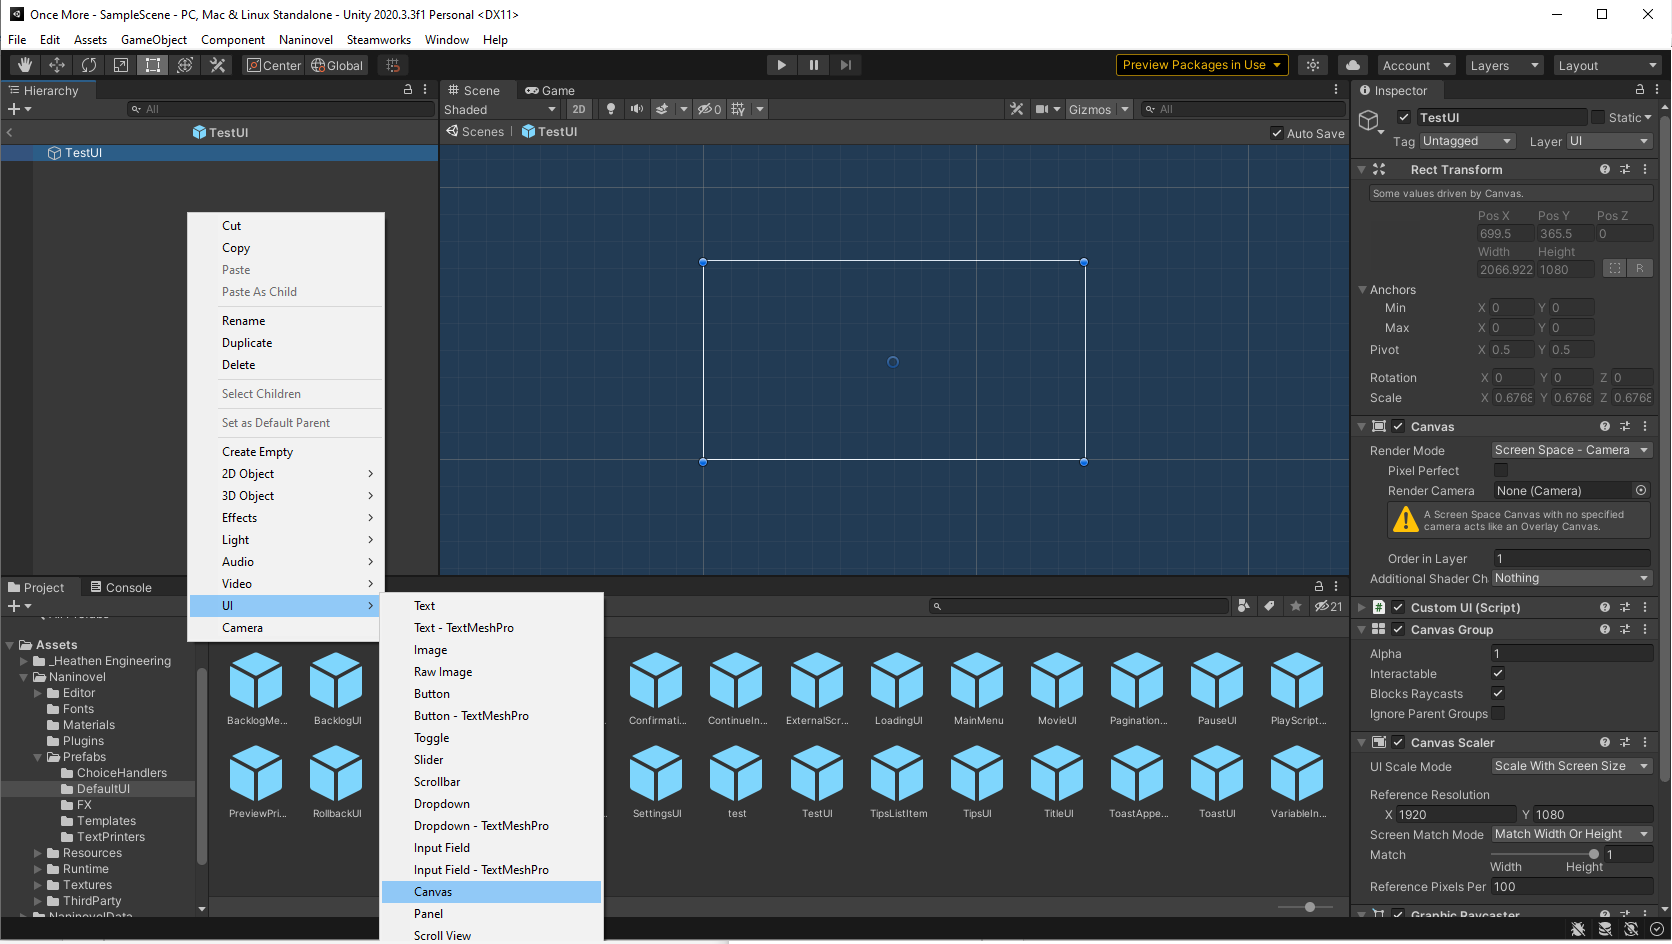
In the left sidebar we can right click to select UI -> Canvas and UI -> Panel
I'm going to be honest, I don't know if the Canvas or Panel is necessary as I am still new to Unity. Regardless, this is how I set up my menu:
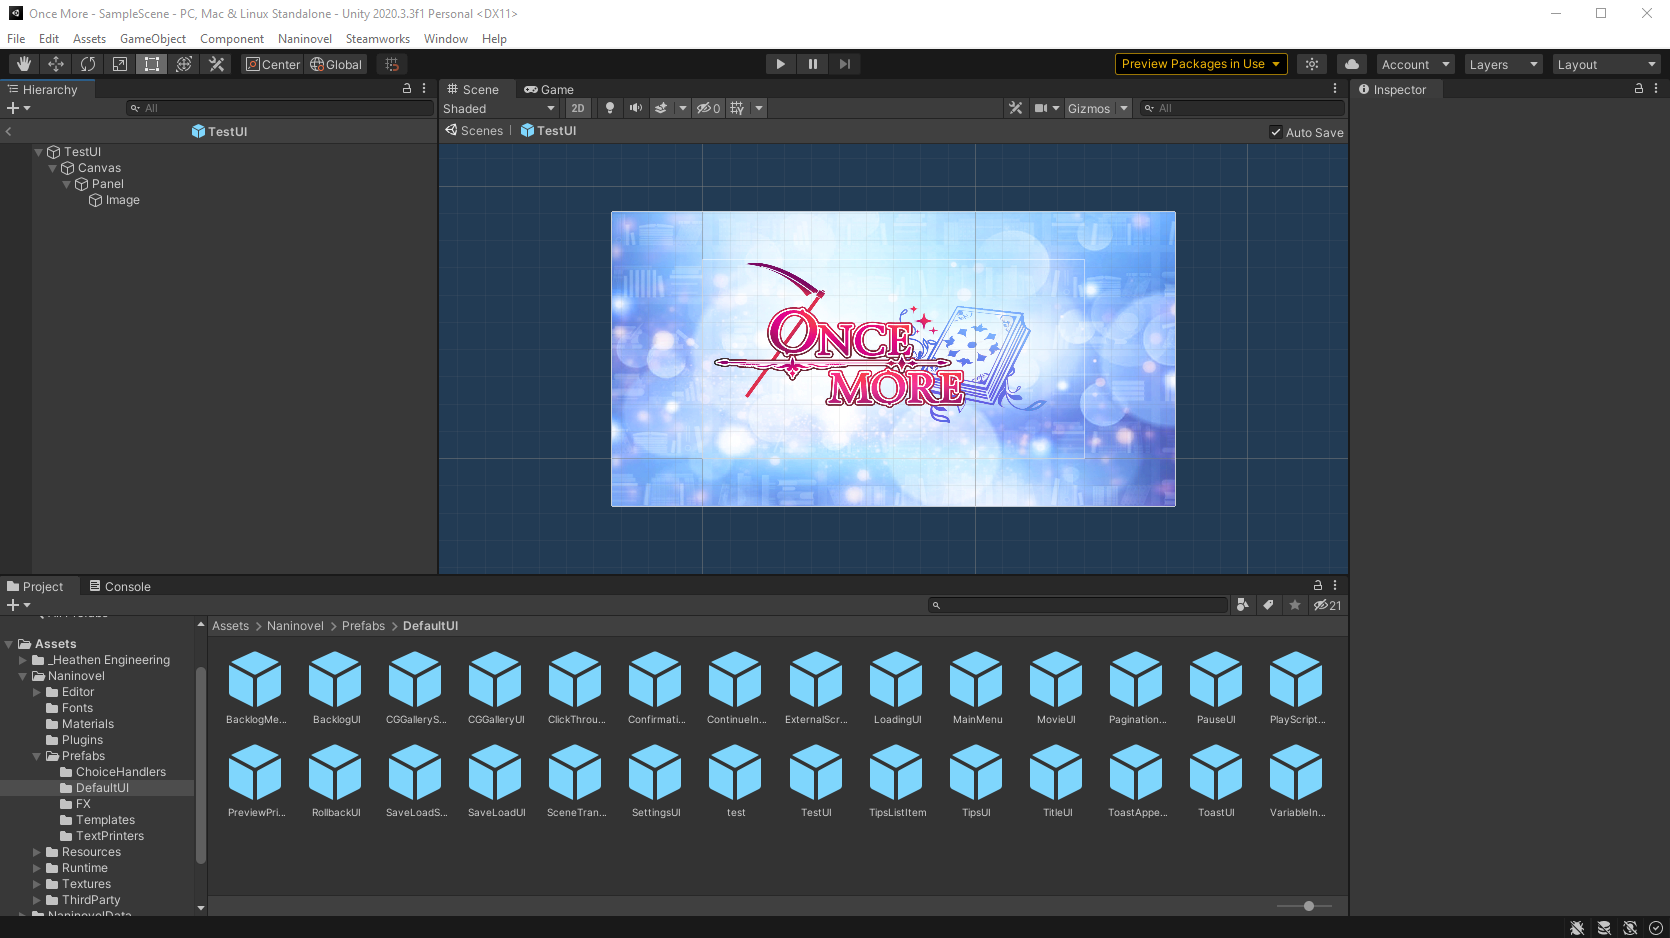
After selecting the Canvas and Panel UI elements, this is what I have:
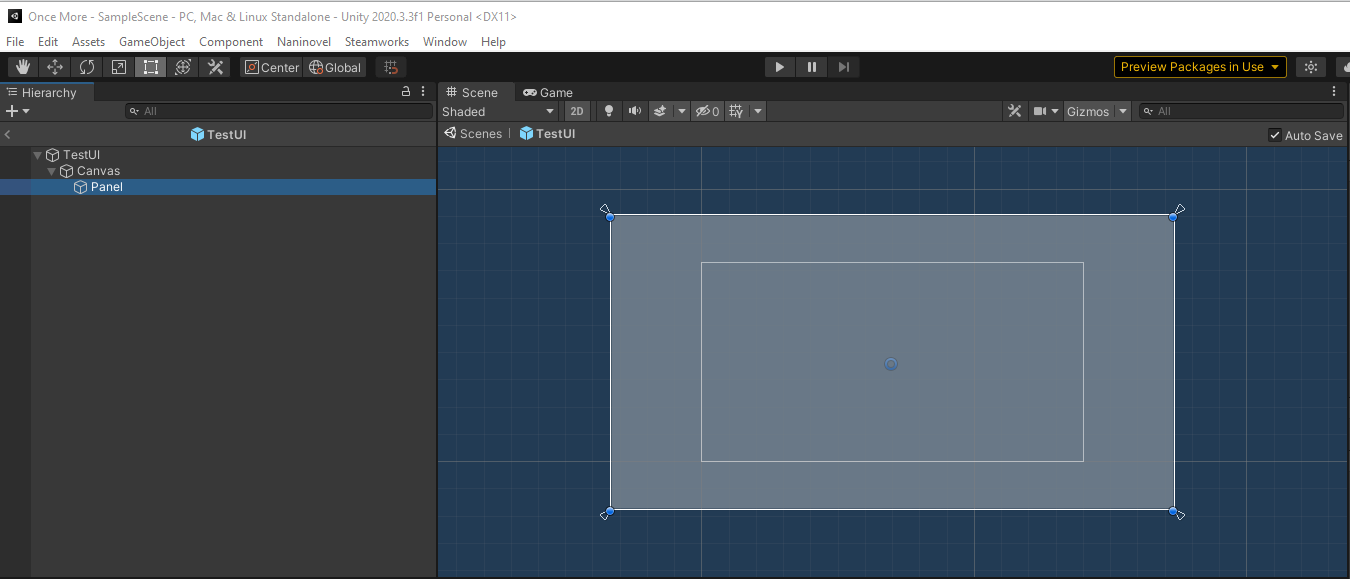
I have not touched anything yet. But I will now.
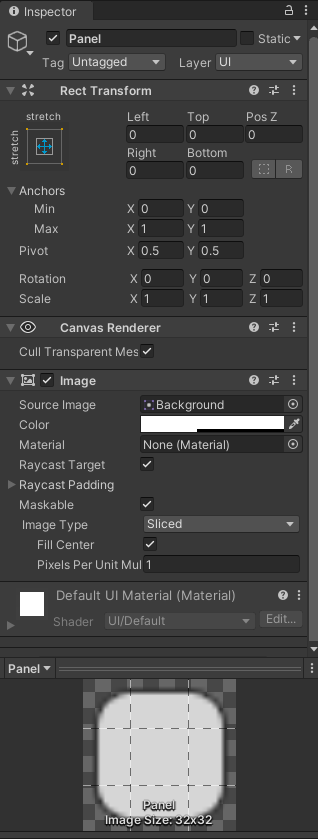
Underneath the Image tab, you can select a source image. This will be your Main Menu / Title Screen Background. In my case, the image displayed darker than normal like below:

Underneath the Source Image option, there is a color option. Clicking it will review this menu:

Our A value is set to 100. We want to drag it to the right and make it 255. This will make your image no longer have a dark color filter applied to it. Since the background image is done, it's time to add my logo. Right click the sidebar where you made a Canvas and a Panel and select UI -> Image. You add your image to the Source Image option under the Image tab in the same way you added your background image!
After adding the image, I resized and moved it to where I want it to be.
Reusing the Title UI Buttons
So, it turns out I want to have buttons to start a new game, continue, go to settings, and exit the game. These are already built into the TitleUI prefab that Naninovel automatically provides. Double click TitleUI and you'll see this:

Select TitleUI and click it.

On the right you'll see a component called Title Menu (Script). We want to add that to our TestUI. We also want to select ButtonsPanel, which is underneath TitleUI. Right click ButtonsPanel and select copy.
Once you've copied the ButtonsPanel, let's go back to our TestUI. Click on Panel and then right click and hit Paste to drop the buttons in there. On my end it looks like this:
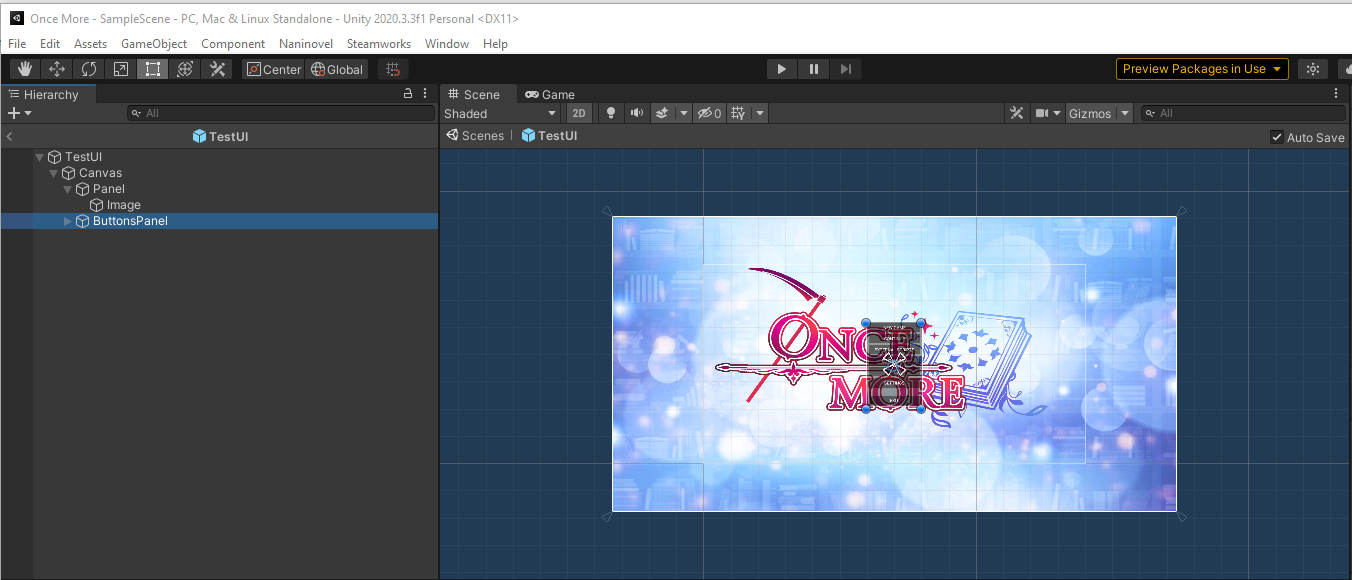
These buttons will not work yet though! We need to move the ButtonsPanel inside our Panel so that it is aligned with Image. Then we click on Panel. Once you've clicked Panel, you'll notice on the right an option to Add Component. Search for Title Menu and select it.

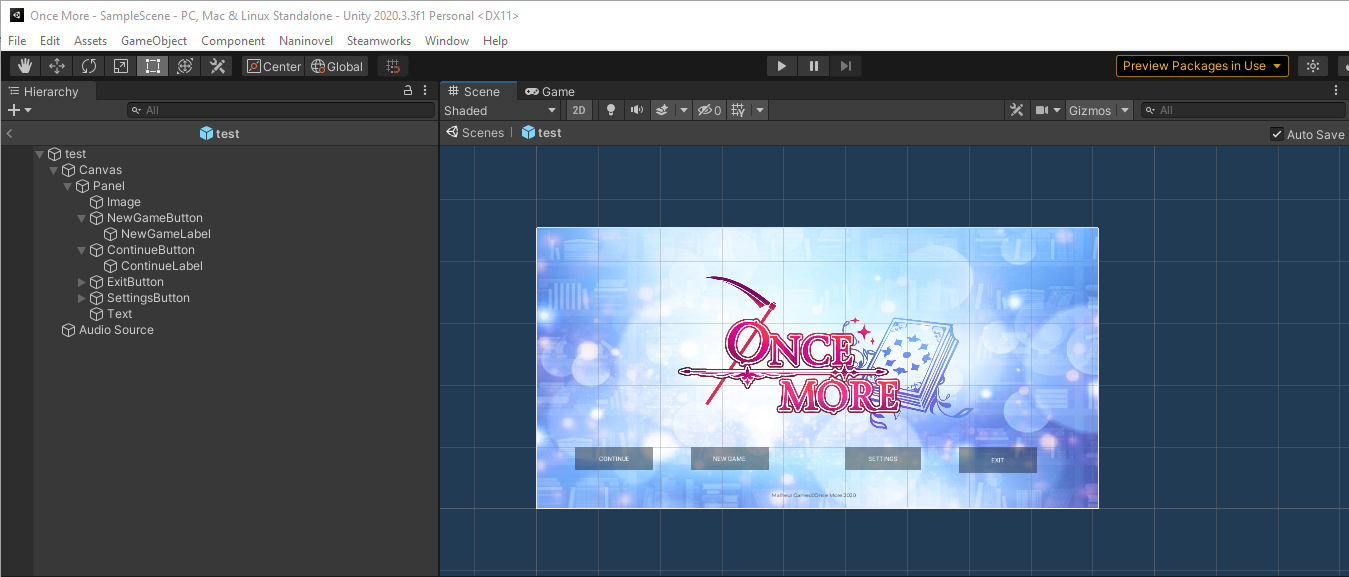
Now we need to assign this menu as our Main Menu. At the top menu select Naninovel -> Resources -> UI. In the menu that pops up, change the prefab assigned to TitleUI to be TestUI. After doing that, start your game. You'll be able to use the menu buttons from TitleUI in your new UI Prefab!
From there, you can customize the buttons you copied and pasted. This is my current progress:
I hope this helps!

Leave a comment
Log in with itch.io to leave a comment.